3L Vertical Sausage Stuffer: Clean, Consistent Links
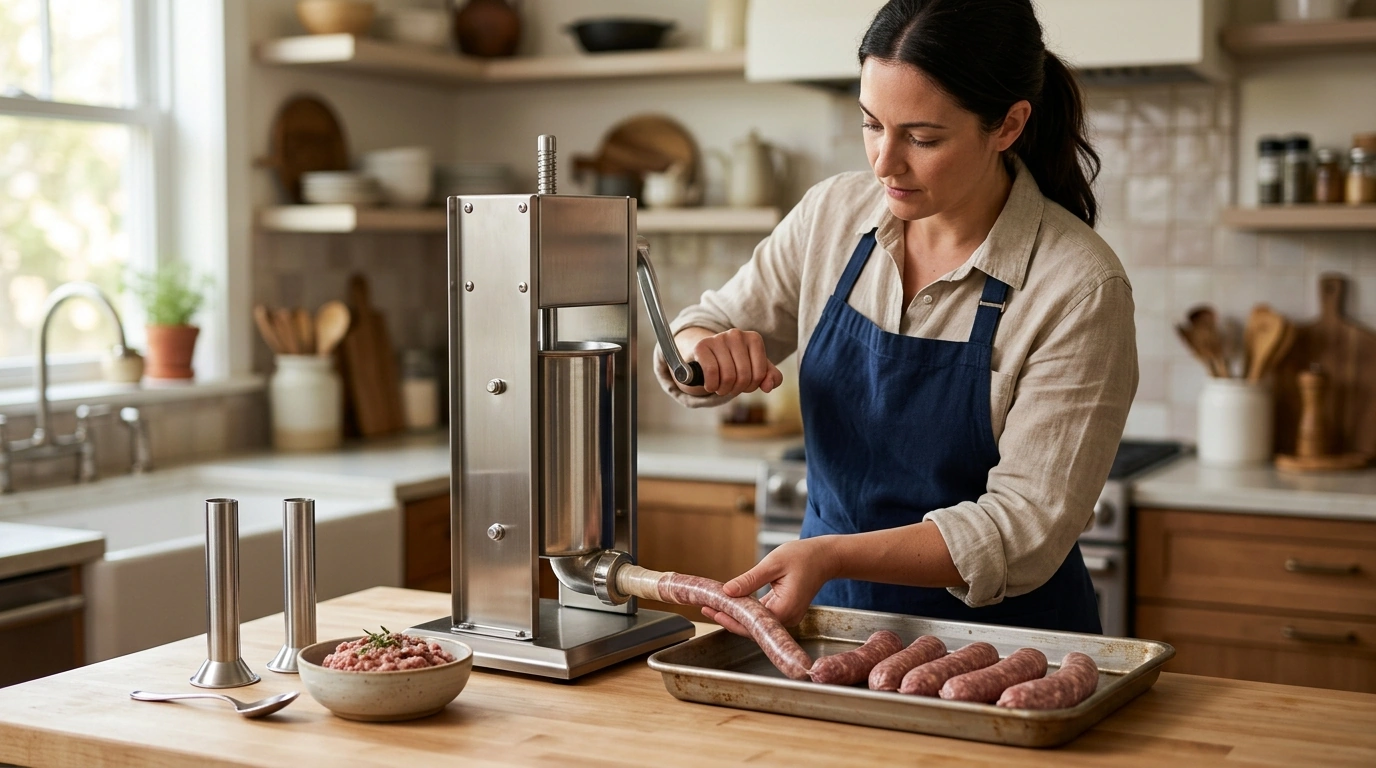
Vertical Sausage Stuffer with Capacity Stuffing Tubes: Faster, Cleaner Homemade Sausage
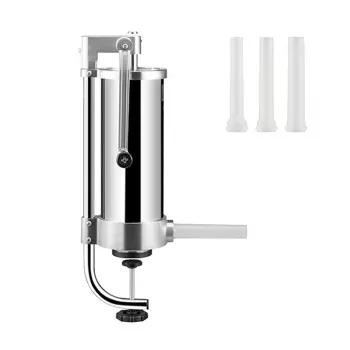
Skip the messy funnel-and-spoon routine. A vertical sausage stuffer keeps the process steady: pack the canister, choose the right stuffing tube, crank with control, and fill casings with fewer air pockets and less cleanup. Our team likes the 3L size for home batches because it feels efficient without turning your kitchen into an all-day project. If you’re ready to move from “good enough” to repeatable, consistent links, the Vertical Sausage Stuffer with 3L Capacity & 3 Stuffing Tubes is a practical upgrade.
Why a vertical stuffer changes the whole workflow
The biggest difference you’ll notice is stability. An upright canister stays planted while you crank, so you’re not fighting wobble, slipping bowls, or a funnel that wants to pop free.
- Steadier stuffing: the vertical build keeps the canister secure while you work, so the mixture goes where it should—into the casing.
- More consistent pressure: compared to improvised methods, you can maintain even force, which helps reduce thin spots and casing blowouts.
- Uniform links: smooth, steady cranking makes it easier to hit the same thickness from link to link.
- Cleaner sessions: meat stays contained in the canister instead of getting smeared across bowls, spoons, and countertops.
Capacity and batch planning (3L sweet spot)
A 3L canister is a comfortable middle ground for most home cooks. You get enough volume to keep the workflow moving, but it’s still manageable to load, store, and clean. It’s also handy when you like making multiple flavors—run one mix, clean, then run the next without committing to an oversized unit.
Tip our team uses often: chill the canister, the meat mixture, and the casings. Cold fat stays firm, which helps the mixture flow cleanly and reduces smearing. For food safety basics while you’re handling raw meat, the USDA’s guidance is a solid reference: USDA FSIS: Sausages and Food Safety.
Quick guide: what 3L capacity looks like in the kitchen
| Batch goal | How 3L helps | Practical tip |
|---|---|---|
| Weeknight breakfast links | Enough volume to move quickly without overmaking | Use the smaller tube and twist links consistently |
| Grilling sausages for a gathering | Fewer reloads than compact stuffers | Keep casings covered with a damp towel to prevent drying |
| Two-flavor batch (mild +amp; spicy) | Easy to run one flavor, rinse parts, then run the next | Stuff and coil each flavor separately to avoid mix-ups |
Stuffing tubes: choosing the right size for the casing
Tube size matters more than most people expect. If the tube is too small for the casing, you create friction that encourages air pockets and uneven fills. If it’s too large, you can stretch or split the casing, especially with delicate natural casings.
- Natural casings: choose the tube that lets the casing slide on and feed smoothly without forcing it.
- Thicker styles (brats, Italian-style, boudin-style textures): the larger tube keeps flow smooth so you’re not overworking the mixture.
- General rule: you want the casing to “glide,” not grab—smooth feeding is a major part of reducing blowouts.
How to get tight fills without air pockets
Even great equipment won’t fix trapped air if the canister is loaded loosely or the cranking pace is inconsistent. A few small habits make a big difference.
- Pack the canister in layers: press the mixture down firmly as you load to push out trapped air before you start.
- Crank steadily: fast cranking tends to create gaps; slow-and-even produces a tighter, more uniform fill.
- “Burp” the casing: pause occasionally to pinch and smooth the fill forward on longer runs.
- Pop bubbles early: keep a sanitized pin nearby—one tiny prick can prevent a split later.
- Don’t overfill links: leave a little slack so twisting doesn’t force meat out the ends.
Setup checklist for smoother stuffing sessions
If you’ve ever had a casing tear halfway through a run, you already know that setup is half the battle. Use this quick checklist before you start cranking.
- Chill everything: meat, bowl, canister, and tubes—cold tools help preserve texture.
- Lightly wet the tube: a little water helps casings slide and feed without sticking.
- Soak and flush casings: it improves handling and reduces tears.
- Plan the landing zone: set out a tray or sheet pan (parchment helps prevent sticking).
- Two-person rhythm helps: one cranks while the other guides and portions for speed and consistent link size.
Cleaning and care that keeps the stuffer reliable
If you like to keep your kitchen reset fast after a stuffing session, our team also keeps a dedicated cleanup tool handy. The Lightweight Canister Vacuum Cleaner is a simple way to tackle dry mess (salt, spice dust, crumbs) after you’ve safely wiped down raw-meat areas.
When this vertical stuffer is the right pick
And when you’re portioning for later, freezing guidance from the National Center for Home Food Preservation is a helpful reference: NCHFP: Freezing Meats.
FAQ
What size stuffing tube should be used for natural casings?
Use the tube size that lets the casing slide on and feed smoothly without stretching. A too-tight fit raises the chance of blowouts, while a too-loose fit can encourage air pockets; matching tube size to casing diameter and keeping everything chilled makes feeding easier.
How can air pockets be reduced while stuffing sausage?
Pack the canister firmly in layers, crank at a steady pace, and pause occasionally to smooth the casing so the fill stays tight. If you see a bubble, a tiny prick with a sanitized pin can release it before it causes a split.
Is a 3L vertical stuffer enough for typical home batches?
Yes—3L is well-suited to small-to-medium home batches and usually means fewer refills than very compact stuffers, while still being easier to handle than oversized units. For very large batch days, plan on running multiple loads.









Leave a comment